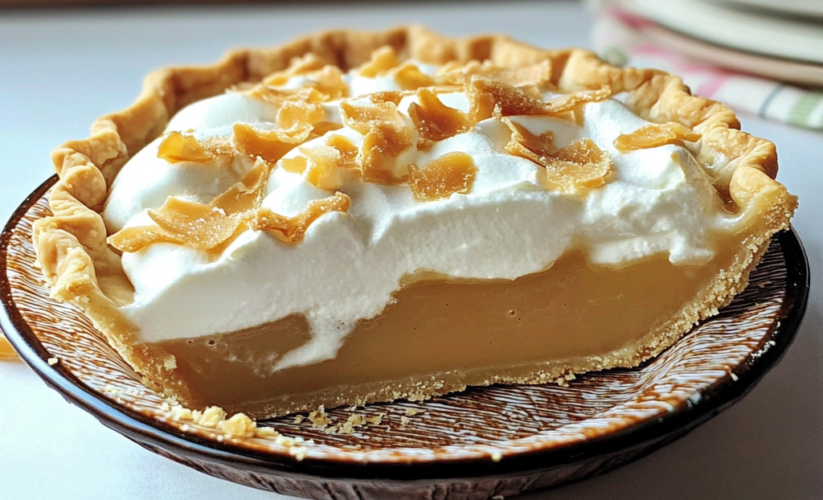
Mastering the Perfect Butterscotch Pie: A Professional Baker’s Guide
After years of perfecting butterscotch pie in professional kitchens, I’ve learned that this classic dessert is all about precision, technique, and understanding the science behind each step. This guide will walk you through every crucial detail to help you create a butterscotch pie that rivals any professional bakery’s version.
The Science of Butterscotch
Before diving into the recipe, it’s essential to understand what makes butterscotch different from caramel. Butterscotch gets its distinctive flavor from the combination of brown sugar and butter, while caramel starts with white sugar that’s heated until it changes color. The molasses in brown sugar creates deeper, more complex flavors and helps achieve that signature butterscotch taste.
Equipment Essential for Success
Before starting, gather these tools:
- Heavy-bottom stainless steel saucepan
- Digital candy thermometer
- Fine-mesh strainer
- Glass or ceramic mixing bowls
- Stand mixer or hand mixer
- Rolling pin
- 9-inch pie dish
- Pie weights or dried beans
- Silicone spatula
- Whisk
- Digital kitchen scale
Precise Measurements
For the Crust:
- 312g all-purpose flour (2½ cups)
- 227g cold unsalted butter (1 cup)
- 60ml ice-cold water (¼ cup)
- 6g salt (1 teaspoon)
- 12g granulated sugar (1 tablespoon)
For the Filling:
- 400g dark brown sugar (2 cups packed)
- 113g unsalted butter (½ cup)
- 720ml whole milk (3 cups)
- 4 large egg yolks (approximately 74g)
- 32g cornstarch (¼ cup)
- 5ml pure vanilla extract (1 teaspoon)
- 3g sea salt (½ teaspoon)
For the Whipped Cream:
- 480ml heavy cream (2 cups)
- 24g powdered sugar (2 tablespoons)
- 5ml vanilla extract (1 teaspoon)
Critical Temperature Points
Understanding temperature control is crucial for success:
- Butter for crust: 35-40°F (1.6-4.4°C)
- Water for crust: 32-34°F (0-1.1°C)
- Butterscotch cooking temperature: 240-245°F (115-118°C)
- Custard cooking temperature: 180-185°F (82-85°C)
- Final internal temperature: 175°F (79°C)
Step-by-Step Technique Breakdown
1. Perfect Pie Crust (45 minutes + 2 hours chilling)
The key to a flaky crust is maintaining cold temperatures and minimal gluten development:
- Cube butter into ½-inch pieces and freeze for 15 minutes
- Pulse flour, salt, and sugar in food processor
- Add butter and pulse until pea-sized pieces form
- Add ice water gradually while pulsing
- Form dough into disk, wrap, chill 2 hours
- Roll to 1/8-inch thickness
- Blind bake at 375°F (190°C) for 20-25 minutes
2. Butterscotch Filling Development (30-35 minutes)
The filling requires careful attention to temperature and timing:
- Combine brown sugar and butter over medium heat
- Cook until mixture reaches 240°F (115°C)
- Slowly add warm milk (110°F/43°C) while whisking
- In separate bowl, whisk egg yolks, cornstarch, and salt
- Temper egg mixture with hot butterscotch
- Return to heat, cook to 180°F (82°C)
- Strain immediately through fine-mesh sieve
Troubleshooting Guide
Common Issues and Solutions
- Crystallized Sugar:
- Cause: Sugar crystals on pan sides
- Solution: Brush sides with wet pastry brush during cooking
- Prevention: Add 1 teaspoon corn syrup to mixture
- Lumpy Filling:
- Cause: Improper tempering or cooking too hot
- Solution: Double-strain through fine-mesh sieve
- Prevention: Use thermometer, temper slowly
- Weeping Filling:
- Cause: Undercooking or overcooking
- Solution: Cook to exact temperature (180°F/82°C)
- Prevention: Use calibrated thermometer
- Shrinking Crust:
- Cause: Dough overworked or warm
- Solution: Rest dough 2 hours minimum
- Prevention: Maintain cold temperatures
- Soggy Bottom:
- Cause: Inadequate blind baking
- Solution: Extended blind bake time
- Prevention: Use ceramic pie weights
Advanced Techniques
Perfect Butterscotch Development
Start with room temperature brown sugar and cold butter. This temperature difference creates optimal crystal structure during cooking.
Optimal Custard Texture
Strain the filling twice: once after tempering eggs and again after final cooking. This ensures the silkiest possible texture.
Preventing Surface Skin
Press plastic wrap directly onto surface while cooling. Remove only when completely cool and ready to top with cream.
Professional Finishing Touches
Whipped Cream Application
- Whip cream to medium-stiff peaks
- Pipe using large star tip
- Create rosettes around edge
- Dust with butterscotch powder
Butterscotch Powder
- Cook additional butterscotch mixture to hard-crack stage (300°F/149°C)
- Cool completely
- Pulverize in food processor
- Store in airtight container
Storage and Service
Temperature Control
- Cool pie to room temperature (2 hours)
- Refrigerate uncovered until set (4 hours)
- Cover with foil after setting
- Serve at 60°F (15.5°C)
Shelf Life
- Unfilled crust: 2 days at room temperature
- Filled pie: 3 days refrigerated
- Whipped cream: Apply within 2 hours of serving
Quality Assessment
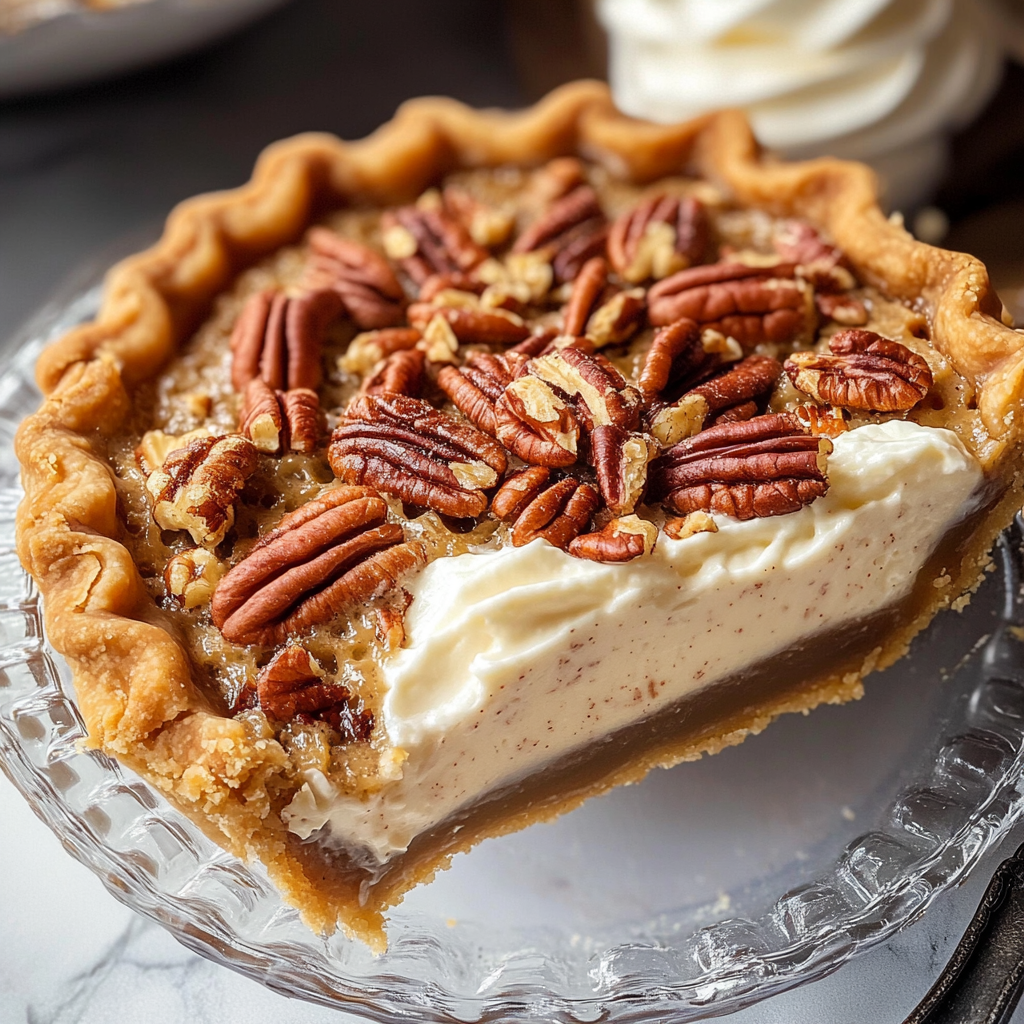
Your finished pie should have:
- Golden brown, flaky crust
- Smooth, glossy filling
- Clean slice with no filling seepage
- Rich butterscotch aroma
- Silky mouthfeel
- No graininess or lumps
Final Notes
Remember that mastering butterscotch pie requires attention to detail and practice. Keep a cooking log noting room temperature, humidity, and any adjustments made. This will help you perfect your technique over time and adjust for various environmental conditions.
The key to professional results is precision in both measurement and technique. Don’t rush the process – each step builds on the last to create a pie that showcases the true essence of butterscotch.
