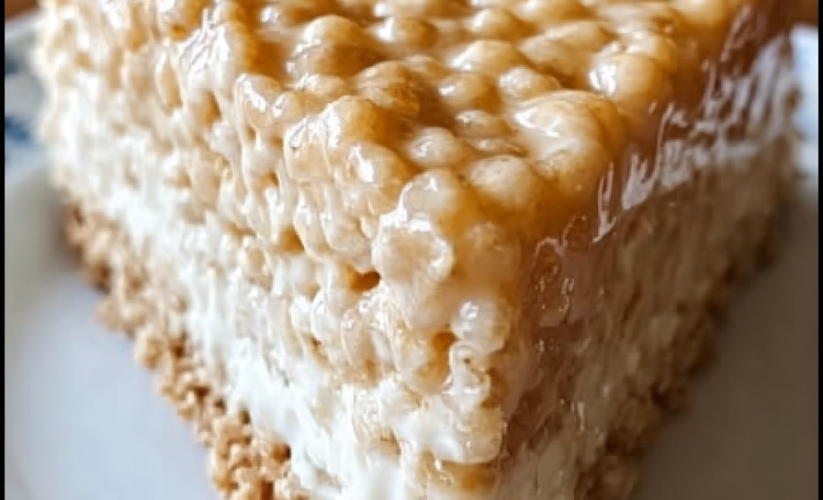
Rice Krispy Treat No-Bake Cheesecake
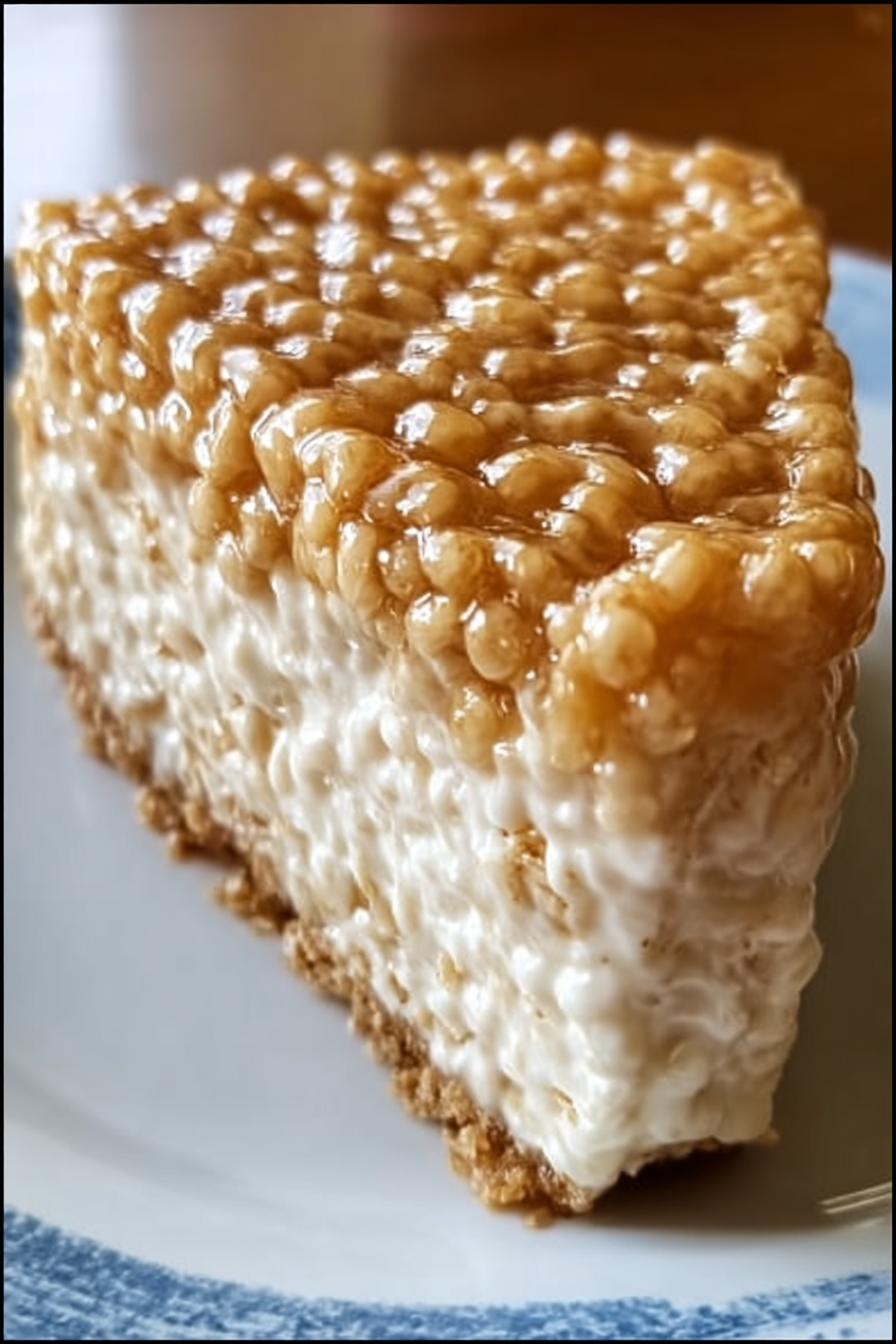
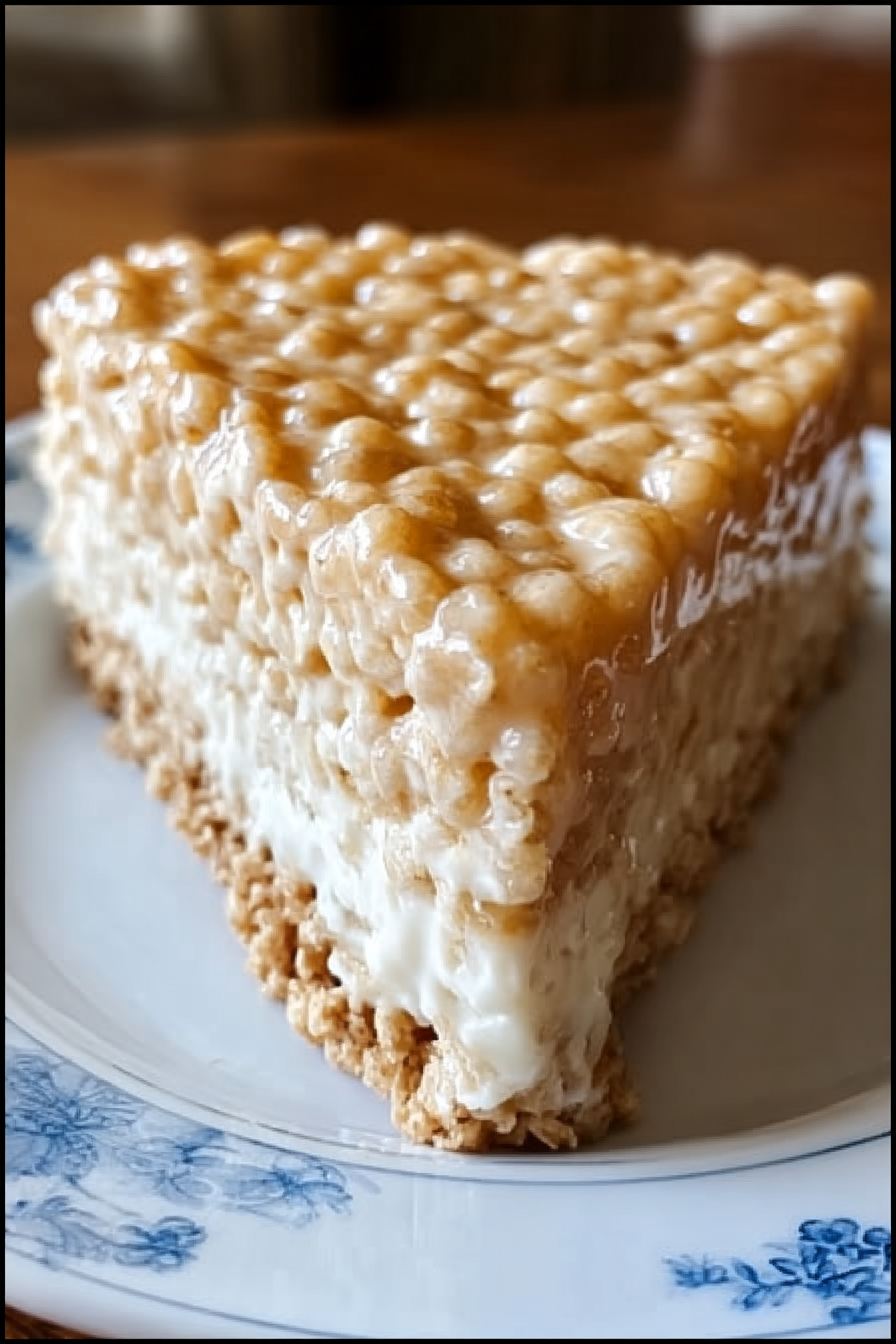
This Rice Krispy Treat No-Bake Cheesecake combines a Rice Krispies treat crust with marshmallow cream cheese filling for a nostalgic, no-bake dessert. The recipe creates a hybrid cheesecake by pressing marshmallow-cereal mixture into springform pan for crust, then topping with whipped cream cheese filling flavored with marshmallow fluff. The technique uses no-bake method with refrigeration for setting.
The result delivers sweet, creamy cheesecake with signature Rice Krispies treat texture as base.
Why You’ll Love This Recipe
No Baking Required – Simple assembly without oven use.
Nostalgic Flavors – Combines childhood Rice Krispies treats with cheesecake.
Marshmallow Double Feature – Marshmallows in both crust and filling.
Light and Airy – Cool Whip creates fluffy texture unlike dense baked cheesecake.
Impressive Presentation – Springform pan creates professional appearance.
Make-Ahead Friendly – Requires 2+ hours chilling, perfect for advance preparation.
Ingredients You’ll Need
For the Crust:
- 6 cups Rice Krispies cereal – provides crunchy base
- 1/4 cup salted butter – helps bind crust
- 1 (10 oz) bag miniature marshmallows – creates sticky binder
For the Filling:
- 1 (8 oz) block cream cheese, softened – creates cheesecake base
- 1/2 cup granulated sugar – sweetens filling
- 1 teaspoon pure vanilla extract – enhances flavor
- 1 (7 oz) jar marshmallow crème (e.g., Fluff) – adds marshmallow flavor
- 1 (8 oz) tub Cool Whip, thawed – lightens texture
For Garnish (optional):
- Whipped cream (homemade or canned) – for decoration
- Cubed store-bought or homemade Rice Krispy Treats – for topping
Step-by-Step Instructions
Prep the Pan
Generously grease 9- or 10-inch springform pan with nonstick spray. Set aside.
Make the Crust
In large bowl, add Rice Krispies cereal. In medium saucepan over low heat, melt butter and marshmallows together, stirring constantly until smooth and fully combined. Immediately pour mixture over cereal and stir until evenly coated.
Form the Crust
Transfer sticky cereal mixture into prepared springform pan. Using greased glass or spatula, firmly press into bottom and slightly up sides to create sturdy crust. Let set at room temperature 15-20 minutes.
Prepare the Filling
In stand mixer or large bowl, beat softened cream cheese, sugar, and vanilla until smooth and creamy (about 1 minute). Add marshmallow crème and mix until fully incorporated. Gently fold in Cool Whip by hand using spatula to preserve airy texture.
Assemble
Pour filling into set crust and smooth top with offset spatula or back of spoon.
Chill
Refrigerate at least 2 hours until filling is firm and holds shape when sliced.
Garnish and Serve
Before serving, pipe or dollop whipped cream around edge and top with cubed Rice Krispy Treats for playful finish. Carefully release springform collar and slice with warm knife for clean cuts.
Recipe Notes & Tips
Greased Tools – Grease glass or spatula when pressing sticky crust.
Work Quickly – Marshmallow mixture hardens as it cools; work while warm.
Softened Cream Cheese – Room temperature cream cheese mixes smoothly without lumps.
Gentle Folding – Fold Cool Whip gently to maintain light, airy texture.
Warm Knife – Run knife under hot water between slices for clean cuts.
Nutritional Information
- Prep Time: ~20 minutes
- Chilling Time: 2+ hours
- Total Time: ~2.5 hours
- Servings: 10-12 slices (estimated)
- Calories per slice: Not provided (estimated 350-450 kcal)
Perfect Pairings
Serving Temperature – Best served chilled directly from refrigerator.
Beverage Options – Cold milk or coffee complement sweet dessert.
Portion Awareness – Very sweet and rich; moderate slices appropriate.
Special Occasions – Nostalgic appeal suits casual celebrations and kids’ parties.
Ideal Occasions
Kids’ Birthday Parties – Nostalgic Rice Krispies treat appeal.
Casual Celebrations – Fun, playful dessert for informal gatherings.
Summer Desserts – No-bake format suits warm weather.
Potluck Contributions – Travels well in springform pan.
Storage & Serving Tips
Refrigeration Required – Keep covered in refrigerator due to cream cheese.
Storage Duration – Best consumed within 3-4 days.
Advance Preparation – Can make day ahead for convenience.
Freezing Not Recommended – Cool Whip and marshmallow texture may suffer when frozen.
Creative Variations to Try
Chocolate Addition – Drizzle melted chocolate over crust or fold mini chocolate chips into filling.
Strawberry Version – Add strawberry purée to filling or top with fresh berries.
Peanut Butter Swirl – Swirl peanut butter into filling for extra flavor.
Graham Cracker Mix – Replace some Rice Krispies with graham cracker crumbs in crust.
Troubleshooting Common Issues
Crumbly Crust – Press firmly while mixture is still warm and sticky.
Runny Filling – Ensure adequate chilling time (minimum 2 hours).
Deflated Filling – Fold Cool Whip gently rather than mixing vigorously.
Difficult Slicing – Use warm knife and wipe between cuts.
Why This Recipe Works
This no-bake cheesecake succeeds because the Rice Krispies treat crust provides sturdy, sweet base while the marshmallow crème adds flavor that complements the cereal foundation. The Cool Whip creates light, mousse-like texture distinct from dense baked cheesecakes. The springform pan allows easy removal and professional presentation. The no-bake method makes this accessible while refrigeration sets filling properly.
At estimated 350-450 calories per slice, this represents very indulgent dessert.
Final Thoughts
This recipe creates nostalgic, playful dessert combining Rice Krispies treats with no-bake cheesecake format. The combination of marshmallow-cereal crust with marshmallow cream cheese filling delivers extremely sweet treat appropriate for special occasions and kids’ celebrations. At an estimated 350-450 calories per slice with significant amounts of marshmallows, sugar, cream cheese, and Cool Whip, this represents occasional indulgence rather than everyday dessert. For a lighter version, reduce sugar to 1/4 cup and use light cream cheese and reduced-fat Cool Whip.